
There is no shortage of tips, tricks or information to learn about DaVinci Resolve (now out of beta for version 18) and video editing in general.
We have covered time-saving plugins, simple tricks for editing faster, and tracking tips just to name a few. Understanding your NLE better will only help make you a more efficient and capable editor which is extremely valuable.
If you still haven’t taken the full plunge into DaVinci Resolve’s OpenFX page now might be the time with a new video from Color Grading Central that details five different tricks and tools that everyone should know.
1. Deband
Oftentimes we are working with less than ideal footage. One particular example is that many cameras still record in a limited 8-bit space. A common problem with 8-bit video is that it struggles with smooth gradations, meaning you’ll see banding in areas like a clear sky. This stepping effect is noticeable.
What you’ll want to use is the Deband effect. First, mask out or qualify the area you want to adjust—the sky in this example. Then apply the effect. You can tweak the strength of the effect to get it just right and you should quickly see a marked improvement.
2. Color Space Transform
Understanding image processing flow is among the most complicated areas of color grading. Oftentimes users will throw on a quick LUT to convert log footage into something close to Rec.709. Not a terrible idea, but since it is applied early in the chain it can end up limiting the footage’s potential.
The Color Space Transform setting is built into Resolve and allows you to get a tone mapped image without potentially losing any data. You’ll still obviously have to use your regular grading tools after this, but it is a great place to start. It can also help you match up footage from different cameras. Since it can map to different color spaces.
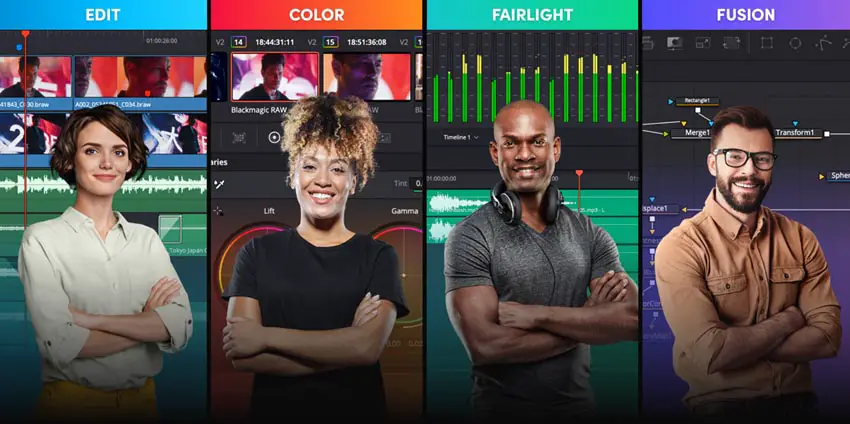
Image Credit: Blackmagic Design
3. Color Compressor
The Color Compressor tool will move the image you are working on closer to a target color. With hue, saturation, and luminance sliders you can even push everything fully into a solid color. Fun, but let’s talk about something practical.
Looking at a person you can start by masking/qualifying the skin tones. Then you can select a middle point of their overall skin as the target color. What you can then do is compress the hue a touch to help smooth out your subject. A little goes a long way here.
4. Deflicker
In some environments where you have lights you can’t control (like fluorescents) you can get some flickering in your footage. The Deflicker tool can make this almost disappear. It works for lights, timelapse, and more. Plus, if you want you can tweak the settings to get it just right.
5. Cinema Grade
Last on the list is an obvious one if you know Color Grading Central – Cinema Grade. This is a separately available plug-in that they have created to make color grading a lot simpler.
Essentially you can just click and drag on the parts of the image that you want to adjust. There are even tools like false color and other overlays to assist. Plenty of LUTs and looks are also in there to get you a great look in no time at all.
Do you have any of your own tips or tricks you would like to share for beginner video editors?
[source: Color Grading Central]
Disclaimer: As an Amazon Associate partner and participant in B&H and Adorama Affiliate programmes, we earn a small comission from each purchase made through the affiliate links listed above at no additional cost to you.

