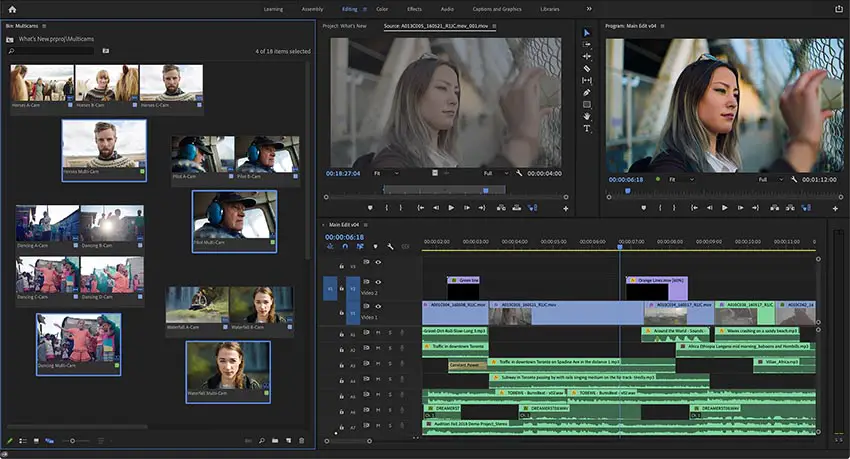
Over the years we have covered a lot of the different “best” export settings for various platforms and applications. We recently did exporting for DaVinci Resolve 18 as well as exporting for Facebook or Instagram Reels in Premiere Pro. It’s been a while since we covered YouTube though and I think it’s time to cover it again.
Filmmaker Roberto Blake is running through his recommended settings for exporting to YouTube using Premiere Pro in 2022. Adobe happens to change up their software frequently and hardware advances might make it easier or better to use new options so let’s check it out.
Working in the latest version of Premiere Pro he pulls up the export window using Command + M on Mac or Control + M on Windows. Here’s where you will be working.
YouTube actually publishes their recommended specs which are definitely worth checking out. He is working in 4K, but he will run through Full HD as well. For the Format, you’ll want to go with HEVC (H.265).
The next-gen compressed codec is extremely efficient for better image quality at similar or even smaller file sizes compared to H.264.
As for the preset, you should generally avoid the YouTube preset and start out with the Match Source – High Bitrate option instead. In the Basic Video Settings, you’ll want to match source for the resolution and frame rate.
You could scale down to Full HD here if you want to finish in 1080p.
Make sure you check the “Render at Maximum Depth” box as well.

Image Credit: Adobe
For encoding settings, you’ll want to use hardware encoding if it is available because HEVC can be taxing for software encoding. Moving down you’ll want to set the profile to Main and the Tier to High.
For bitrate settings, you’ll want to make some tweaks. He selects the VBR, 1 pass for variable bitrate. He then puts the target at 40-50 Mb/s.
Variable is useful since it will adjust the bitrate to be higher for scenes that need it and lower for those with less detail or movement. You can use 2-pass but it’ll take longer to render out.
If you are working in Full HD you can reduce the target to 12-24 Mb/s.
In audio settings you may be just fine with the defaults but if you want to double-check this should be with a target of 320 kb/s and with the maximum render quality checked on.
At this point, you are ready to go. Either hit export or send to the queue for batch processing.
[source: Roberto Blake]
Disclaimer: As an Amazon Associate partner and participant in B&H and Adorama Affiliate programmes, we earn a small comission from each purchase made through the affiliate links listed above at no additional cost to you.
Claim your copy of DAVINCI RESOLVE - SIMPLIFIED COURSE with 50% off! Get Instant Access!


