
From the first days of digital filmmaking there has been a desire to recapture the “film look.” There’s just something about how film recorded an image that was missing with digital. Even today there are tons of tips and tools that are designed to help filmmakers recreate it.
To do it well, you need to consider a wide range of factors and it starts at capture. Once you shoot the footage you’ll need need to take care in grading to complete the look. Filmmaker Brady Bessette is in love with the look and details in regards to how he works to create these specific visual aesthetics with his work.
If you are a fan of the film look the ideal would obviously be to shoot film. But with the difficulties in getting the equipment, the relative complexity compared to digital, and the high cost it is out of reach for many.
Just because you can’t shoot film doesn’t mean you can’t get close with digital.
There are some general aspects of film to look out for:
- Blooming with bright lights
- Halation
- Grain
- Smooth highlight rolloff
There’s an organic feeling with film that is hard to replicate with digital. Part of this comes from an inability to go and check, so you might have some small imperfections that remain in the final image.
Modern digital imaging has moved towards a clean, more clinical look that is sharp and eschews aberrations.
In-Camera Techniques
To start getting a more film-like image you need to make sure you are tweaking the image before capture. A common option is a diffusion or mist filter. This will give you that blooming effect.
Newer lenses are fine to use, but vintage glass is going to provide that more organic look. They simply aren’t up to modern standards and were literally used for film giving you an older look and feel.
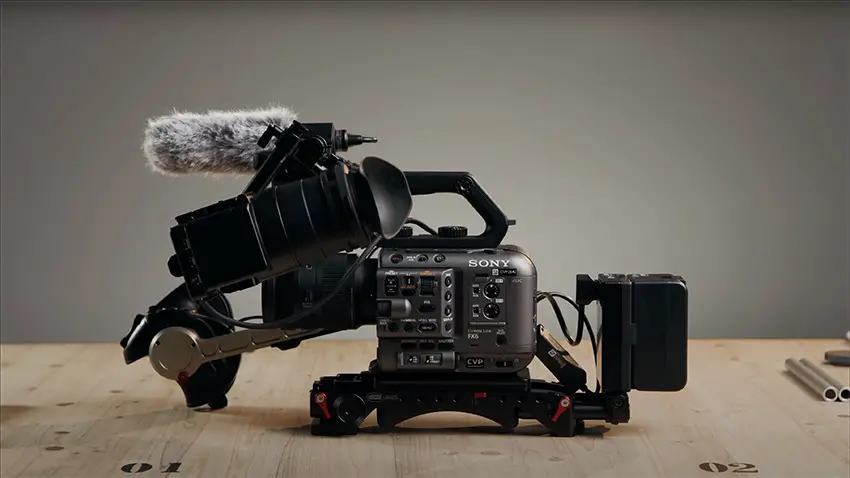
Image Credit: CVP
An odd thing you might try is shooting at an off-speed frame rate. Older Super 8 films used to shoot at 18 fps fairly often and it can give you a more erratic look that calls back to that style of shooting.
You also need to consider how you are shooting. If you are using older lenses and mist filters to get flare then you should probably try and get some light sources in your shot that will take advantage.
Color Grading
After shooting you’ll have to do a fair bit of work in post to make it happen. For this Brady uses FilmConvert as a plug-in for DaVinci Resolve.
Working on the Color page in Resolve he can apply FilmConvert as an effect on any clip. The software can then use a profile for your specific camera model and then use that information to replicate film stock.
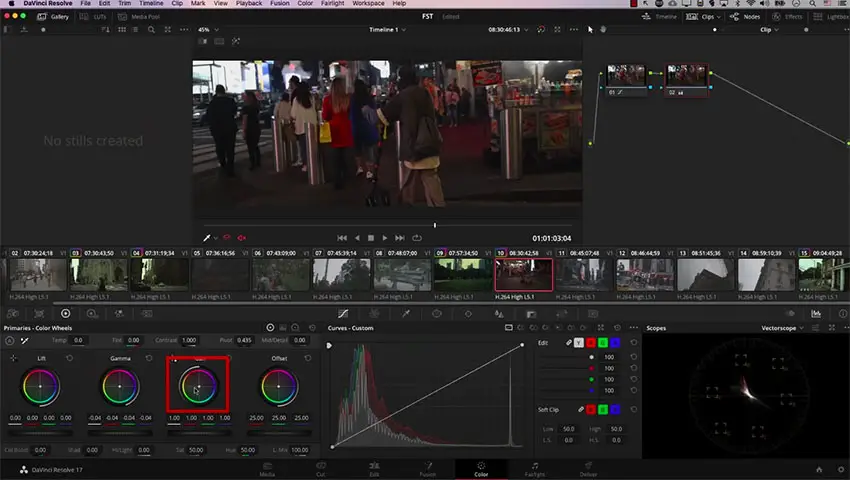
Image Credit: Blackmagic Design
There is a great deal of control here. You can choose the film format, the exact stock, and more. There are adjustment sliders for most of these options as well. He does then usually add a halation effect on top of it.
You can always do some of your usual color work after the fact to get it looking as you want.
Do you ever try and get the film look? Have you tried FilmConvert?
[source: Brady Bessette]
Disclaimer: As an Amazon Associate partner and participant in B&H and Adorama Affiliate programmes, we earn a small comission from each purchase made through the affiliate links listed above at no additional cost to you.
Claim your copy of DAVINCI RESOLVE - SIMPLIFIED COURSE with 50% off! Get Instant Access!


