
False color can be one of the most helpful exposure tools you can use. It is also extremely confusing the first time you load it up.
It works by changing the image to show colors depending on the exposure of different areas of the scene.
This way you can quickly identify that skin tones are at one exposure, the background is set to another, and so on.
As you continue to work you’ll need to understand what this means in relation to different types of skin tones as well.
For working with darker skin there is a lot to learn and filmmaker Brittney Janae has put together a wonderful video explaining how to do it.
Post production is a critical part of the journey for getting you subjects looking natural, but how you shoot determines how easy it is to get that final product later on.
Janae believes that false color is one of the best tools for judging exposure. Hard to deny since it very clearly shows you where things are sitting in real time.
She uses a Sony FX3 along with an iPhone app called Monitor+. The FX3 doesn’t have the feature built-in like other cinema cameras so you’ll either need an external monitor or a solution like this app.
The Monitor+ app has been highly recommended lately because it adds a lot of these functions to a device that you already have on you.
When you turn on false color it changes your image into a seeming mess of colors. The different colors tell you what the exposure levels are for each part of the scene.
This can make it very quick to identify the critical parts and where they sit on your exposure scale. There should be a guide that tells you what colors mean what exposure.
The scale here goes from 0 to 100 with colors to match. If you hit red then you are basically at 100 are are clipping your highlights. If it is blue it’s clipping on the blacks since it is down at 0. The sweet spot for dark skin tones is within the pink, gray, and green, which is 42-58 IRE.
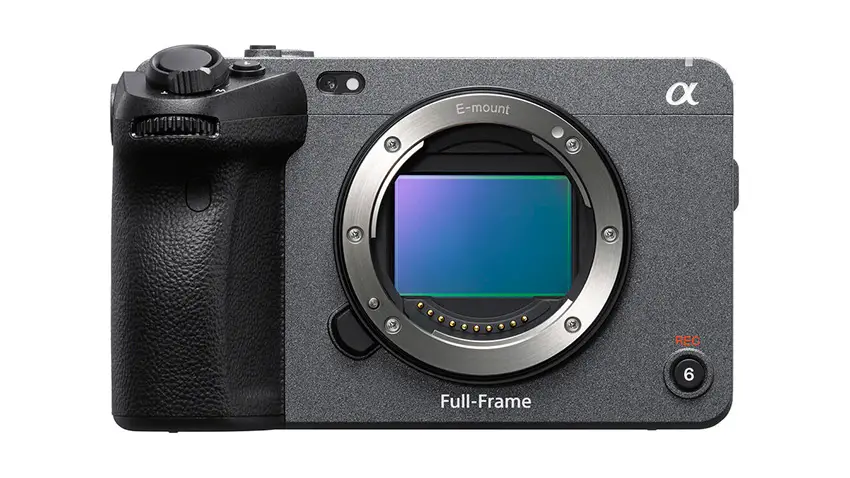
Image Credit: Sony
You should be targeting the key light to this exposure. It’s okay if you have some shadows dropping into darker areas since that is simply natural contrast.
She shows what happens when you bump up the exposure and see the colors change. The reds come in and show where you may be losing detail. Then doing the opposite you see the whole image go blue for underexposed.
Using this scale can help you make more creative decisions. She bumps the exposure down slightly and while it may look a little dark it still falls within the safe zone for the main area of skin. This is totally workable for a more dramatic look.
The recommendation is that you do stay above 20 IRE. That is getting into dangerous territory.
Compared to something like a histogram the false color tools are much more usable. Histograms provide an overall view of your image while false color will tell you the exposure levels of specific areas.
Have you used false colors before? Do you prefer other exposure tools?
[source: Brittney Janae]
Order Links:
Disclaimer: As an Amazon Associate partner and participant in B&H and Adorama Affiliate programmes, we earn a small comission from each purchase made through the affiliate links listed above at no additional cost to you.


