
Native ISO, Dual Base ISO, Extended Sensitivity, Gain. This list could go on and on just for talking about types or tools related to camera sensitivity, or ISO. Good and common advice is fortunately simple – stick to your camera’s native or base ISO setting(s).
Unfortunately, it isn’t always possible to follow that advice 100% of the time and those alternate ISO options may become tempting, like lowering below the native ISO when it’s bright out or you forgot your ND filters.
Is shooting at these low ISOs all that bad? Gerald Undone is taking a look at these much-maligned options and finding out if they are to be avoided or just need to be better understood.
Now, when we are talking about lower ISO settings we are talking about a type of “psuedo-ISO” option. These don’t work the same way as traditional ISO settings and since there is some digital processing happening after the image data is captured by the sensor there are potential impacts to dynamic range and noise.
Dynamic Range
Gerald pulls out his a7S III, which has these low ISOs marked with lines above and below the numbers in the menu, and puts it through some testing.
First, he gets a Xyla 21 chart to look at dynamic range and shoots at the native ISO of 640 – which shows the normal results—and then moves into the lower settings.
Shooting at ISO 400 you can see the clipping point in the highlights drops down. Along with that, the noise is reduced. This trend continues as you drop the ISO.
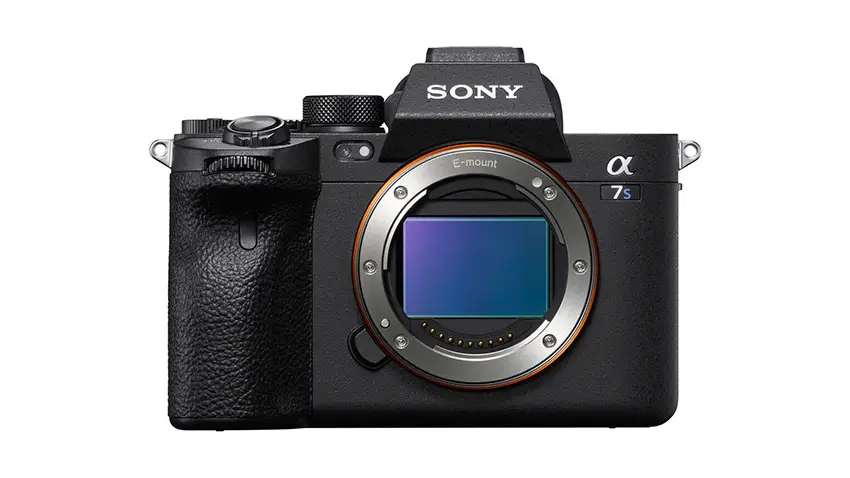
Image Credit: Sony
Now, if you are looking at the original and compare it to the lower ISOs the potential problems you’ll see are that the information in the shadows becomes more and more compressed into the noise floor. This means that you’ll likely continue to lose detail in the dark shadows as you lower the ISO.
Actual results show that at ISO 640 you are getting 14.6 stops total and about 12.6 stops of practical DR. At ISO 400 this drops to 14, but the usable dynamic range remains the same at 12.6 stops.
If you continue to drop your ISO you’ll see the maximum dynamic range continue to drop but now you’ll see some of the stops buried in the noise floor are falling off.
You could picture this as using in-camera settings to cut off those noisier parts of the image.
Zebras & Clipping Point
Something to be careful of is that the low ISOs will have different clipping points than the native ISOs. As you lower the ISO the clipping point you’ll want to use for zebras will also need to drop.
S-Log3 has a clipping point at 94. For every 1/3 stop, you lower from the base you’ll need to drop the clipping point by 3. Since 640 is the base if you go to 500 you’ll need to set it to 91, at 400 it’ll be 88, and so on…
Test Scene (ETTR)
Understanding how this will work in real-world testing he goes and does a simple test scene of a building. In it he shows it with a tiny bit of clipping in the highlights.
At ISO 800, a real ISO, you can see this clipping happening. Now, if you were to change the ISO to another real ISO you might be able to recover the detail and information in that area of the scene.
When you move to the fake ISOs there is no new information recovered since the clipping point also lowers.
Where you might still want to do this is to make the editing process faster. If you use the fake ISO settings to get the exposure “correct” when on location then your standard LUTs and other grading tools will work perfectly.
If you were to shoot with a real ISO that was a little too bright then you would have to also apply an exposure correction in addition to a LUT.
Image Credit: Sony
Highlights/Shadows
The test showed off what happens when you are essential exposing to the right. Gerald wanted to see what would happen if you exposed “properly” and targeted middle gray for your exposure.
Doing some tests with the charts you can see that moving to low ISOs will have you lose stops in the highlights. On the other hand, you will also see that noise is reduced and the remaining stops are all maintained. Theoretically, it should make your darker stops more usable.
Test Scene (Neutral)
Using a studio scene he shows off the different settings with them matched up in post. Moving to the low ISOs you can clearly see that the noise is dramatically reduced. It may even be better than exposing to the right and pulling the exposure down in post.
Conclusion
The main negative for using the low ISOs is that you will lose dynamic range. Now, if you are working in a scene that fits in the reduced dynamic range then you won’t actually notice the negatives.
If you are shooting and just need to bump exposure down a touch to get it looking right and you are careful with exposure there is no reason to avoid it. The footage is always going to keep all the clean stops.
[source: Gerald Undone]
Order Links:
Disclaimer: As an Amazon Associate partner and participant in B&H and Adorama Affiliate programmes, we earn a small comission from each purchase made through the affiliate links listed above at no additional cost to you.
Claim your copy of DAVINCI RESOLVE - SIMPLIFIED COURSE with 50% off! Get Instant Access!


