
You will almost never know enough about your favorite NLE. Part of that is because they are adding new features all the time.
The other reason is simply that these are very dense pieces of software and it takes years of experience and some good advice to figure out the tricks that’ll help improve your speed and productivity.
If you work in DaVinci Resolve you are in luck as professional colorist Darren Mostyn has compiled a list of 10 must-know hacks that will help you out. Sounds like it is time to put that fresh install of the recently-out-of-beta 18.5 release to the test!
1. Display Qualifier Focus
If you want a more precise analysis of certain areas of your shot you can use the Display Qualifier Focus setting. To do this, when you want to sample an image you will need to be in the qualifier mode on the color page.
Then, heading down to your scopes, in the “…” menu you can turn on display qualifier focus.
With this turned out you can see where your cursor is on your image and where that is represented in the scopes. This can make it easier to check out certain areas, like skin tones.
2. Using Stills to Make Notes
Making a new stills gallery named “Fixes,” Darren uses this to save locations where he plans on making fixes later on. Since it saves a timecode stamp with the image it’ll be a perfect bookmark as where you want to make the correction.
The other thing to do is to name it with the fix you plan to make. That way you have a nice shortcut with a note on what fix you need to make at that spot. When you finish it later you can just delete them.
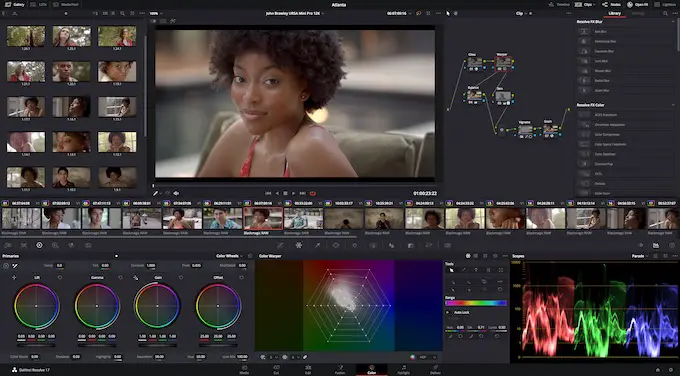
Image Credit: Blackmagic Design
3. Favorites in Effects Menu
Over the numerous updates that Resolve has received it has gotten more and more effects. What may have once been a very navigable list has become a lengthy set of different options that may make it difficult to find a particular effect.
By hitting the Start button on the effect you can save it as a favorite. This way you can then filter to your Favorites and just get the ones you use most often. It may help to collapse the categories until you need them as well.
4. Large Preview and Effects Menu
When you apply an effect you will get a set of controls and tools to modify how that effect will impact your footage. If you want a better view you should hit Shift + F.
This will give you a larger preview of your footage along with a complete look at the options and settings in the menu.
5. Playheads
While everyone who edits should be familiar with the playhead many of you might not know that you can actually use more than one playhead at a time.
In the Color menu, there is an Active Playhead option that allows you to select between four different playheads (labeled from A-D).
When you select a new playhead it’ll deactivate the current one but leave it where it is. This means you can save a location and quickly come back to it by reactivating that playhead.
There are keyboard shortcuts to speed this up. That would be Control + Option + # (from 1-4) you can switch between the playheads.
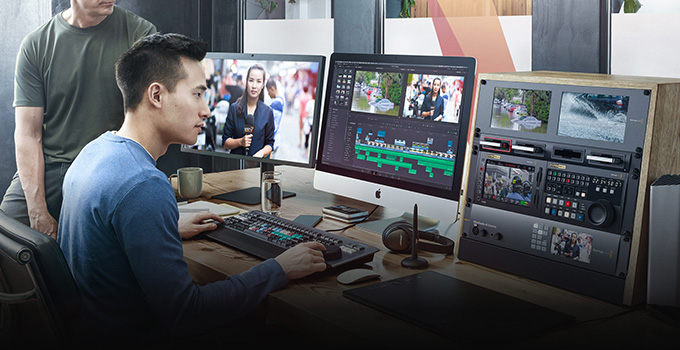
Image Credit: Blackmagic Design
6. Versions
Using wipes with Stills is hopefully a familiar tool as it helps comparing two shots a lot easier. Versions is supposed to take this to the next level.
If you click on the split screen button in the top left of the preview window on the Color page next to the image wipe button you’ll then get a new drop down menu where you can select a Version.
In that menu you can select a lot of useful previews. Neighbor Clips, for example, will show you the two clips prior to the selected shot and the one after it all side by side. There are plenty more to choose from, too.
There is selected still grades or images and a bunch of others. When this is being used it will actually stack them on your scopes. Playheads is a great option now that you know how to use those to select exact frames.
7. Window Presets
Using windows is nice and fun, but not when you are doing a lot of repetitive actions. One example is making vignettes.
If you use the same basic setup for your vignetting effect then once you make one you can head to the top right … menu in the windows panel and save a preset. Now you can access them quickly whenever you need.
8. Using the Node Graph
When you are looking at a Still you can right-click on it and hit display node graph. Now you will get a window that shows all the nodes being used on the still.
You can even drag nodes from that clip and drop it onto your current clip. This will make it easy to copy certain properties from one clip to another.
You don’t have to do it from stills either. You can find any clip and right-click to get the same display node graph option.
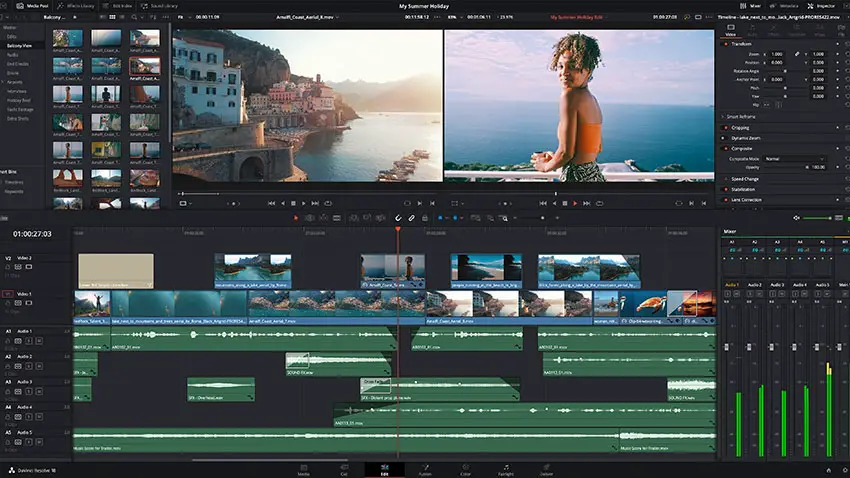
Image Credit: Blackmagic Design
9. Working with Multiple Layers
When you are working on the Edit page you will often set up different layers of video to separate things like A roll, B roll, graphics, and more. That’s all fine.
However, when you move to the Color page you may run into moments where when you jump to the next clip you are only jumping to the next graphic instead of your intended goal of moving to the next actual video clip.
One option is to disable those tracks, but that doesn’t work if you still want to see those clips. To fix that you can hold Option and click on the track you want to disable. This will disable the track but not turn it off the display.
10. Working on Smaller Screens and Laptops
If you work mainly on a laptop you’ll likely find that screen real estate is limited with all the options you have in Resolve. To fix that you can turn off some of your panels until you need them like the effects or clips.
However, clips are useful and instead of turning them off, you may instead want to just make them smaller.
Heading to the View menu you’ll find Timeline Thumbnail Size and can select either Small, Medium, or Large.
What do you think about these Resolve tips? There was some stuff I know I wasn’t aware of before this.
[source: Darren Mostyn]
Order Links:
Disclaimer: As an Amazon Associate partner and participant in B&H and Adorama Affiliate programmes, we earn a small comission from each purchase made through the affiliate links listed above at no additional cost to you.
