
Getting that sweet orbiting shot around your subject can be a massive pain. There are, of course, legitimate solutions to this problem, but they can cost a lot.
There is often one good solution to the cost problem: DIY. Building your own rigging is not always as hard as it seems and often you can get it set up in a better or more custom configuration based on your specific needs.
With that in mind, today we are going to check out an awesome-looking orbit camera rig from Bestboy Adam. From the initial samples it definitely does the job of creating a sweet orbiting shot and it seems very well built as well.
Off-the-shelf options are great if you can afford them and they fit your needs. Something you may run into is that they don’t have the load capacity you need for all your lenses or they lack the controls or adjustments you want for a specific shot. We can fix this by building your own.
Let’s talk about what you need to get started:
- Four aluminum pipes (2 x 2 lengths)
- Two aluminum plates
- Two Kipps connectors
- Two Kipps cross connectors
- Two flange bearings
- 50mm steel or aluminum shaft
- Eight clamps for the 50mm pipe
- Short piece of pipe
- Two double clamps
This is going to be used to create a heavy-duty version that can hold up to 150 kg (or around 330 lb). If you don’t need anything that serious you can swap out the components for smaller, lighter, and cheaper pieces.
For example, replacing the 50mm pipe with 35mm pipe will do just fine for simple product work and still probably be over built. You can also swap out wood for the plates if you only need something basic.
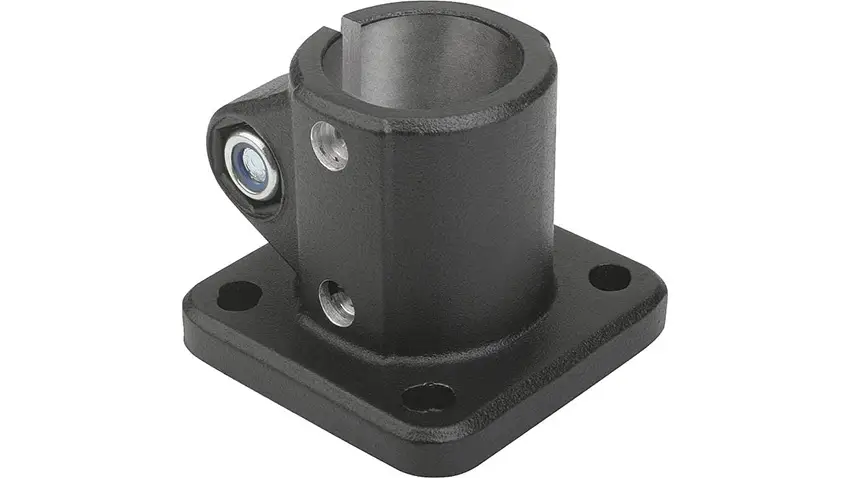
Image Credit: Kipps
Now that you have your stuff you can get building. You’ll want to build a base with the aluminum plates. You’ll need to find the center of the plates and then mark where the Kipp connector should be secured.
He drilled holes for the connector as well as holes near the edge for mounting a table to it or using extra clamps.
Mount the connectors to each plate. Next, he uses a steel 50mm shaft which he slides into one of the connectors. Now, take your flange bearings and slide them over the shaft.
Then, you can take your clamps and attach them to the flanges. Your other pipes can now be fitted to the rig and the top plate can be mounted.
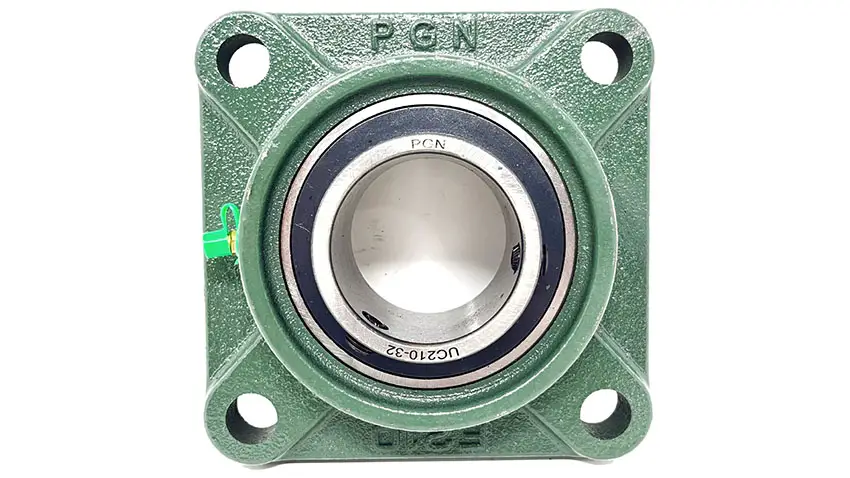
Image Credit: PGN Bearings
Keep in mind, that you can always swap out or adjust the pipes to make it work for different shot types.
This should be looking great already and you should have a nicely rotating rig with a static center plate/table area. Using some cheap double clamps he is able to mount another pipe perpendicular to the two main pipes.
Then, a basic clamp with a camera-rig-compatible threading/screw can be attached to your rig and you just clamp the camera to this pipe. Using a clamp and pipe makes it easy to adjust the angle.
You’ll want to counterweight the rig. If your setup is relatively light you might be able to get away with just tossing a sandbag on the other side.
For a more serious setup, you’ll want to get some weights and clamps and secure it to the opposite side of the camera.

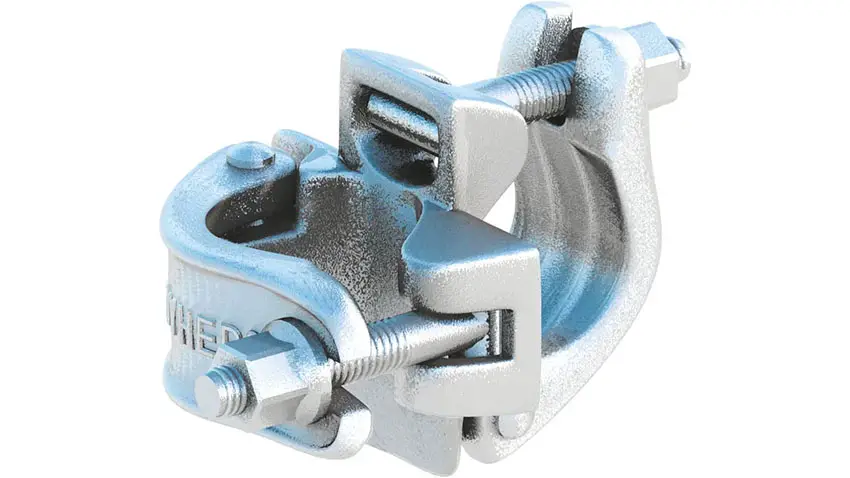
Image Credit: Kipps
Figuring out how much counterweight is a simple process. If the pipe is centered then you just need the same weight on each side. If one side is longer than another you’ll need to do some math.
Multiply the length of the pipe on the longer side (assuming this is the camera side). Take that result and divide it by the length of the pipe on the short side and you should now have your counterweight weight.
It should work now! Though you can always tinker with it.
One thing you may want to do is shoot with the camera at eye level. To do this you’ll need a couple extra pipes and the Kipp cross connectors.
Add these connectors to the end of your pipes and have the new pipes sticking straight up. Now you can mount the camera in the same weight at a much greater height.
Another modification is making use of the pre-drilled holes to attach a larger base for working with larger subjects. Using a larger wood platform or other surface with drilled holes should make this easy.
With some care if you are able to get the pipes mounted on a ceiling you could even attach this orbiting rig upside down for some cool configurations. Some heavy-duty tripods might even be able to do it.
In the future, you may be able to add a controllable motor for more precise movements.
This thing is solid and he shows off shots with a person standing on the center plate. It holds a Blackmagic Pocket camera with DJI RS 3 with ease.
He also hooks up the DJI Ronin-4D as well. Even bigger rigs should be fine and he thinks a camera rig up to 75 kg (165 lb) will be just fine with proper counterweighting.
Total cost runs under $100.
What do you think about this DIY rig? Think you’ll try it yourself?
[source: Bestboy Adam]
Order Links:
- Kipps Linear Actuator Connector Clamps Base (Kipps)
- Flange Bearings (PGN Bearings)
- Kipps Tube Clamps (Kipps)
Disclaimer: As an Amazon Associate partner and participant in B&H and Adorama Affiliate programmes, we earn a small comission from each purchase made through the affiliate links listed above at no additional cost to you.

