
It has been a long while since Sony refreshed their APS-C camera lineup and now we are finally on the verge of having the new flagship a6700 shipping out to early adopters.
It has some excellent upgrades that bring it more in line with Sony’s latest releases though if you are expecting it in your mailbox any day now you’ll still want to go in and make some tweaks before you hit record.
Checking out filmmaker Sean De Wispelaere, who happens to have his hands on an a6700 already, we have six tweaks that you should make right away so that you are getting the best from your new camera.
1. Focus Standard
Compared to cameras like the a7 IV, the a6700 is missing that incredibly useful joystick. The most common use I have for this is quickly adjusting a focus point.
Without that joystick, you are stuck navigating back through the menu settings. Or, you can configure a button with the “Focus Standard” setting.
He set the C2 button on top of the camera to the Focus Standard command which means that at a single press he can immediately begin controlling the focus point location using the rear directional pad.
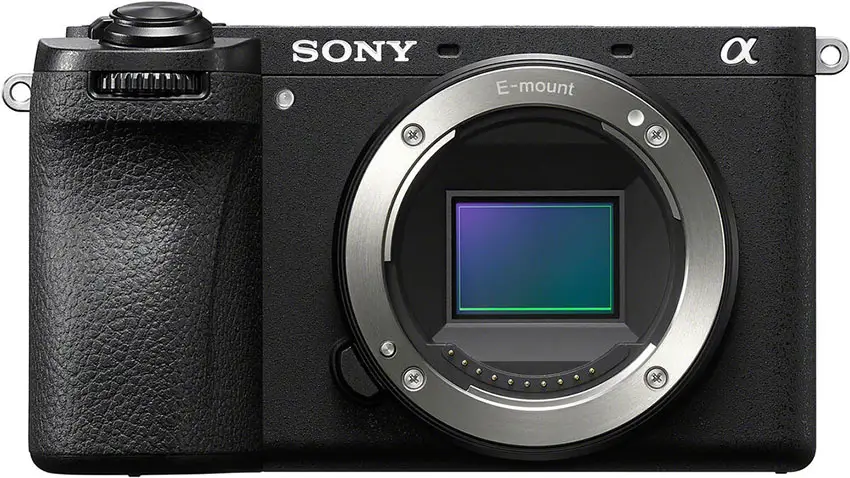
Image Credit: Sony
2. Video Quality
Among the major upgrades for the a6700 was getting all the latest video codecs and options. You’ll obviously want to go for 4K and choose a frame rate of your choosing.
As for the actual codec you’ll likely be just fine with regular XAVC S. If you want the absolute best quality then you could go with XAVC S-I, though that is a much bigger file.
Alternatively, XAVC HS is going to deliver smaller files with good or better quality, but that’ll be more strain on your computer.
The real trick is finding the “Record Setting” in the menu. This is going to be your bit rate and bit depth – the two most important factors for quality.
You’ll want to select the highest bit rate and make sure you are set to 10-bit. This will ensure you are getting the most from the camera.
3. Different Settings for Stills/Movie
This was my favorite update for recent Sony cameras. I use very different settings for stills and video as I assume most people do and this makes life a lot better. In the toolbox menu there is an option to set different settings for the modes.
Just check everything here. It’ll mean that when you switch between the modes you won’t be carrying over your settings. You’ll keep the most recent settings from that mode.
This means you can set your shutter to 1/50 sec in video and if you switch to photo where you might change your shutter and then when you change back to video it’ll revert back to your 1/50 sec setting.
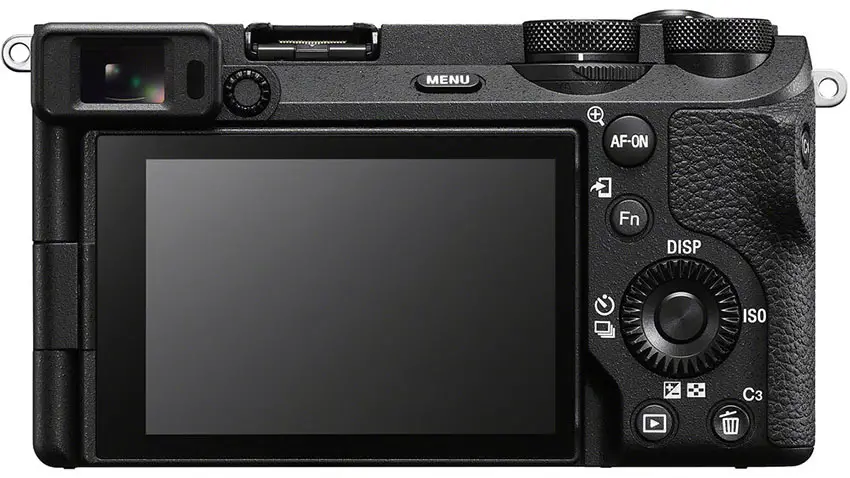
Image Credit: Sony
4. Overheating Setting
You can’t avoid overheating with these small mirrorless cameras – at least not yet. They are doing okay these days and one thing you can do is change the overheating limit with Sony cameras.
In the power settings you’ll find an “Auto Power OFF Temp.” option. Set this to “High” and you’ll get a much longer threshold before the camera automatically shuts off from heat.
Don’t worry, they won’t damage your camera as even the higher threshold is under the failure point for modern electronics.
5. Custom Buttons
No matter how hard they try, the default settings for the buttons and dials will not be perfect for everyone. Take advantage of how customizable the buttons are with the a6700 and the fact that you can have different settings for the photo and movie modes.
The other thing you can customize is the Function Menu. Make sure you have everything you could possibly need right at your fingertips. You’ll probably have to develop your custom buttons over time.
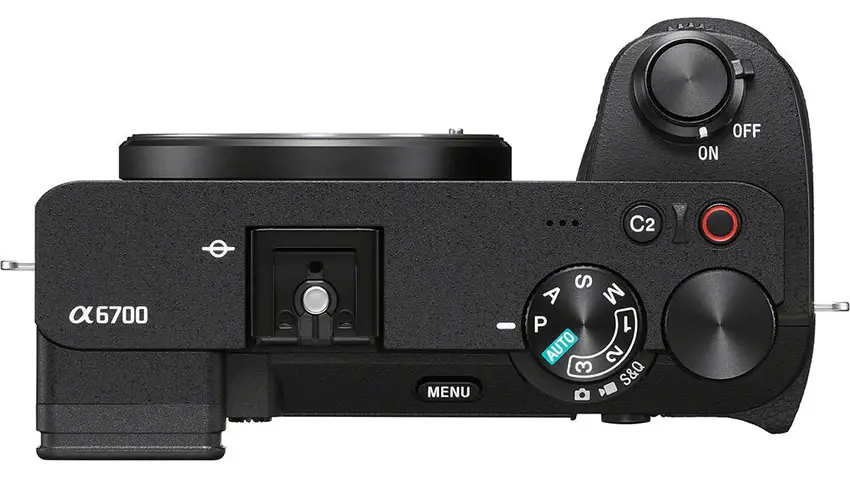
Image Credit: Sony
6. Raw Photos
Now for some photo-specific settings. By default, most cameras come set to shoot in JPEG only. This is fine, but it is far from ideal.
If you want the most data and flexibility when it comes to extracting detail in post you’ll want to change this to record in raw.
It’s one of the first settings you’ll see in the camera menu and it is important. Changing to raw guarantees you are getting the most from the camera.
Do you have any tips or settings you would recommend?
[source: Sean De Wispelaere]
Order Links:
Disclaimer: As an Amazon Associate partner and participant in B&H and Adorama Affiliate programmes, we earn a small comission from each purchase made through the affiliate links listed above at no additional cost to you.
Claim your copy of DAVINCI RESOLVE - SIMPLIFIED COURSE with 50% off! Get Instant Access!


