
Setting up your camera(s) is one of the most important parts of being prepared and able to shoot quickly and effectively. Sony cameras especially since I think it’s fair to say their menu system could use some more work. There are also just so many settings to dig into when you start to navigate things like Picture Profiles or even just custom button functions.
Filmmaker Matti Haapoja has long been a Sony shooter and he is here to share his tips and tricks for getting the best video settings. This should work with any relatively recent release, including the a7S III, a7 IV, and FX3.
Among the best and most overlooked settings on Sony cameras are the custom settings being saved to the mode dial. You can very quickly switch between different modes for different purposes just by rotating the dial. Matti’s examples are having Custom Mode 1 set up for vlogging, 2 set for slow motion at 120p, and 3 set for max slow motion at 240p. These modes save everything, including white balance, shutter speed, picture profile, and more. I’m sure you already have ideas for your own settings.
Now just make sure you have all your basics covered:
- Set camera to base ISO (640 and 12,800 for a7S III & FX3)
- Shoot wide open (or as close to it as possible)
- Shutter speed double frame rate (24 fps = 1/50 second)
- White balance either daylight or auto depending on most common shooting situations
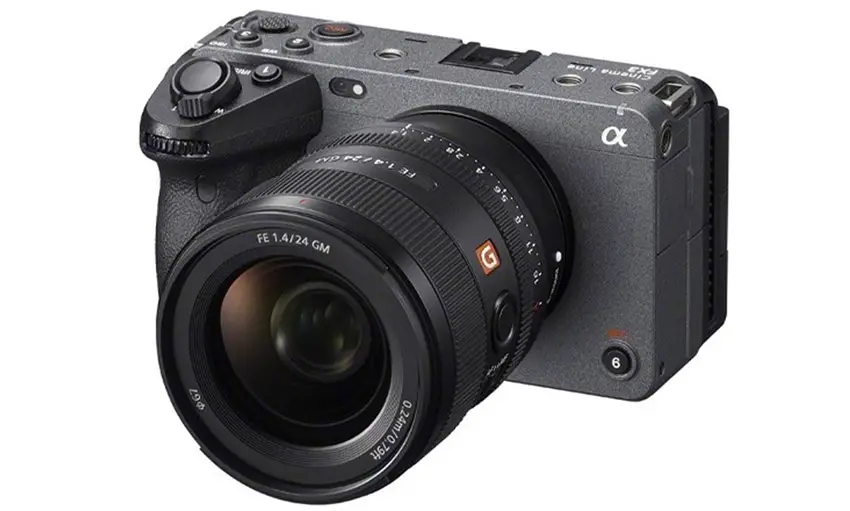
Image Credit: Sony
Codecs get a little more complex on newer cameras. XAVC S is your more standard compression with Long GOP and H.264. Easy to use and fairly compressed. There is also now XAVC S-I, which is intra-frame and still H.264 meaning much higher quality and still easy to edit but much larger files.
Finally, there is XAVC HS, a new high-efficiency codec using H.265 compression. High quality with smaller files. The only concern is that you should have is that you need a newer computer that has H.265/HEVC hardware decoding or it’ll kill your computer.
For top quality you should double check the recording modes to ensure you have a decent bit rate and definitely want to make sure you are at 10-bit 4:2:2. That will be the biggest thing to guarantee top quality.
Matti also shows off some of his own LUTs if you are interested. There are plenty of LUTs out there to help convert S-Log3 to something that looks great without much work at all.
As for color, you will want to think about what Picture Profile you are planning on using. It’s fairly well established that for maximum quality and dynamic range you should stick with S-Log3 if you are recording in 10-bit.
The flat profile is designed to squeeze the most amount of dynamic range and color information into the compressed codecs allowing you to recover extra details in the shadows or highlights that a baked-in look can’t give you. You just have to account for post-production color grading as part of your workflow.
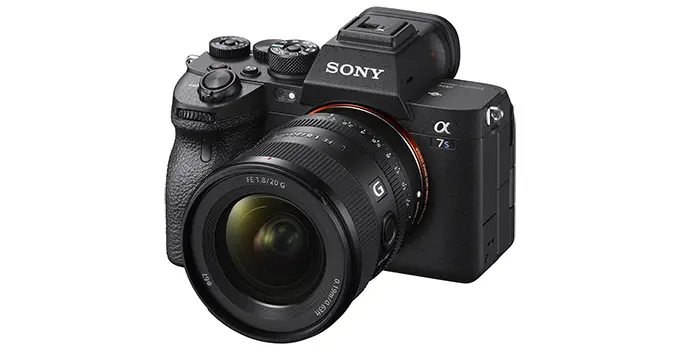
Image Credit: Sony
There is the alternate S-Log2 mode which Matti describes as a more conservative version of S-Log3. But still, best is to make some modifications to the S-Log3 profile.
Starting with the default S-Log3 profile in PP8 you should head to the Color Mode spec. Change it to S-Cinetone. Now, S-Cinetone is a good profile if you want something quick and ready to go and it has tweaked colors that make it a great color mode. Best practice is still to use S-Log3 if you can.
Other adjustments include taking the Saturation all the way up to +15. This supposedly helps with color grading as the extra information is easier to work with as opposed to the normal low saturation log gamma. It easy to remove saturation if you need to anyway.
Another thing to check out is detail. By bringing it from -7 up to -1 you are capturing enough detail that you don’t always have to add it in post which can be a very heavy edit.
There are some good tweaks here I might just start using some myself.
Any particular tweaks you like to make to your settings?
[source: Matti Haapoja]
Order Links:
- Sony a7S III Mirrorless Camera (B&H, Amazon)
- Sony FX3 Cinema Line Camera (B&H, Amazon)
- Sony a7 IV Mirrorless Camera (B&H, Amazon)
Disclaimer: As an Amazon Associate partner and participant in B&H and Adorama Affiliate programmes, we earn a small comission from each purchase made through the affiliate links listed above at no additional cost to you.
Claim your copy of DAVINCI RESOLVE - SIMPLIFIED COURSE with 50% off! Get Instant Access!


