
There are an almost endless number of editing tricks to learn with most having a clear goal of. simplifying or speeding up your workflow. Understanding the software better, in this case Premiere Pro, is one way to go about getting faster at editing, especially when you start getting into the shortcut game.
The other way is finding features that you haven’t used before and finding out they can do a task for you that would normally take a lot longer. If you want to learn some new things about editing in Premiere Pro then this video from the Olufemii channel might give you some good ideas.
1. Precise Timeline Navigation
If you want to get quickly to an exact position on your timeline you can navigate by just typing in numbers with the timeline selected. The timestamp at the top left of the timeline can be changed simply by typing in numbers on your number pad.
So, if you want to hit the 1-minute mark all you need to do is type 010000, which translates to 00:01:00:00 for 1 minute. You can go way farther with this, determining the hour, minute, second, and frame.
Now, if you have a clip on the timeline selected when you do this you will move that clip to that position on the timeline. It’s a lot more precise than just dragging stuff around.
2. Moving Clips Quickly
Another way to move clips around your timeline quickly is to use markers. Head to a place on the timeline you want to insert a clip and add a marker either by right-clicking the playhead or just tapping the M key.
Find the clip you want to move there and use cut. Using the keyboard shortcut Cmd + Shift + M it should instantly bring you back to your marker. Then just paste it in. You can use markers to jump elsewhere forward in the timeline with just Shift + M.
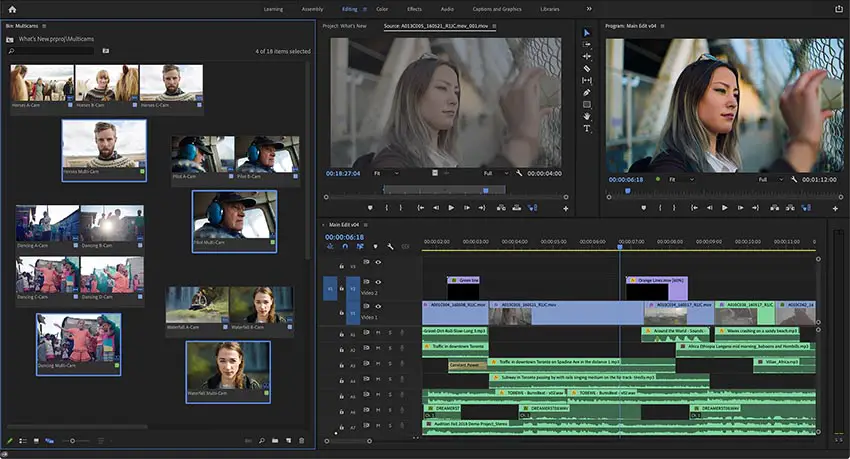
Image Credit: Adobe
3. Color Coding
Premiere is very powerful if you learn to make use of all the features. One useful trick is color coding your footage. You can decide how you want to do it, but in the example they group their shots based on the content or type, including drone shots, animals, and people shots.
He selects each group, right-clicks, and then selects a label to give them a color. Now, even when just glancing at the timeline you can quickly find the type you are looking for.
4. Better Organization with Bins
In the media window for your project you can create bins, aka folders. Once you start getting into serious projects with more than just a few pieces of media this will become absolutely necessary.
You can organize your files to easily find what you need. Good examples are splitting up A and B roll, edits, music, sound effects, graphics, and more.
5. Build an Assets Library
Anything you use often, like logos or fonts or music or graphics, you should organize in a single library on your computer or storage.
This makes it incredibly easy to recall these assets for every project and find all the stuff you need without having to go digging or remembering where that one asset was last saved.
Do you have any more Premiere tips you can’t live without?
[source: Olufemii]
Disclaimer: As an Amazon Associate partner and participant in B&H and Adorama Affiliate programmes, we earn a small comission from each purchase made through the affiliate links listed above at no additional cost to you.
Claim your copy of DAVINCI RESOLVE - SIMPLIFIED COURSE with 50% off! Get Instant Access!


