
GoPros and other action cameras serve a great purpose in all types of filmmaking thanks to their impressively compact and durable construction and respectable image quality.
The only downside is they usually use ultra-wide optics that come with some noticeable fisheye curves that can be a bother in your final video. You can address this in post, however, using a few simple tools.
Coming from Storysium is a quick video editing tutorial on how to get rid of the fisheye distortion in any photos or videos taken with an action cam. They will be using Adobe Premiere Pro and Photoshop for this video tutorial.
Extremely wide optics on action cameras like the GoPro HERO10 Black are very helpful for getting in close with action or leaving room to crop for excellent digital stabilization. They also create distortion we do not want.
If you don’t want to have to worry about fixing this in post you can use built-in tools, such as the “Linear” lens which will correct images with a slight crop. There is also a Horizon Leveling feature that can be used as well to make sure everything is lined up. However, you can’t shoot in raw if you use these modes.
Photography
Using Photoshop you can very easily make these corrections. Opening up the raw file in Photoshop will open it in Adobe Camera Raw. While you can and should start making some tweaks to color and contrast here you will want to go check out the Optics section of the tools for the fisheye correction.
All you have to do is select the default GoPro options for your model and it should almost magically provide you with a clean, straight image.
Normally Photoshop will identify the camera automatically in the Optics section. However, if it doesn’t, you can manually select a camera or use the distortion slider to apply a correction. Once you are done you can hit open to open in Photoshop. Feel free to tweak and then save however you want.
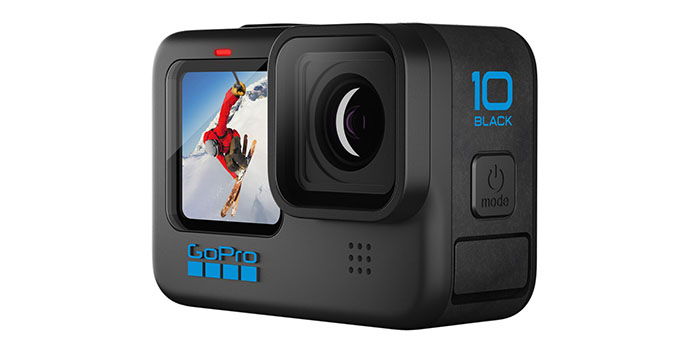
Image Credit: GoPro
For JPEGs you can do a similar thing you just need to get Photoshop set up properly. Heading to Preferences > File Handling… you will find a Camera Raw Preferences button.
Next, you can go to JPEG and TIFF Handling and change it to automatically open all supported JPEGs. Now, Photoshop will open up camera raw for JPEGs and you can use the same optics tools.
Video
Working with video is a touch trickier and you’ll have to move over to Premiere Pro. With the clip on the timeline, you’ll then want to apply an effect: Presets > Lens Distortion Removal > GoPro.
In here, you’ll find some preset corrections. It may not have the latest cameras but an older model can get you looking very good. If they get close you can then use the Lens Distortion controls in the Effects inspector to change up things like curvature.
If you don’t have a preset that works you can just use the regular Lens Distortion Correction effect and do the job manually. The Curvature control comes in handy here. There are some other options in there for getting it just right.
Very simple and something that will have a huge impact on your footage.
Do you do any distortion correction on your action cam footage?
[source: Storysium]
Disclaimer: As an Amazon Associate partner and participant in B&H and Adorama Affiliate programmes, we earn a small comission from each purchase made through the affiliate links listed above at no additional cost to you.
Claim your copy of DAVINCI RESOLVE - SIMPLIFIED COURSE. Get Instant Access!


