
Firmware used to be used simply for fixing the rare bug that happened to ship with the camera or one that popped up when new accessories came out after launch.
Now, firmware updates are being used to breathe new life into existing cameras and unlock features that completely change the capabilities of the system. And, Sony found a way to make the process somewhat difficult.
If you have an a7 IV, or any other current Sony camera for that matter, you’ll likely want to upgrade the firmware at some point. If you want a walkthrough to help you there is a great video by Henry Media Group to check out.
First thing you will want to do is check the current firmware version of the camera and/or lens. Heading into the menu head to Setup (Toolbox) > Setup Option > Version. This will tell you the firmware version. If this doesn’t match the latest firmware available on Sony’s support page then you will need to update.
The next step is to prep the camera for the update. Remove the memory cards cause you don’t need them. Then make sure you have a fully charged battery. This is critical, if the battery dies during the update it can mess up your camera.
Now you can go to Sony’s page and download the necessary files. The first is the Sony Camera Driver Installer which is needed to update the firmware.
This is a huge pain for Mac users as you’ll need to unlock system extensions and probably have to restart a couple times to get it working.
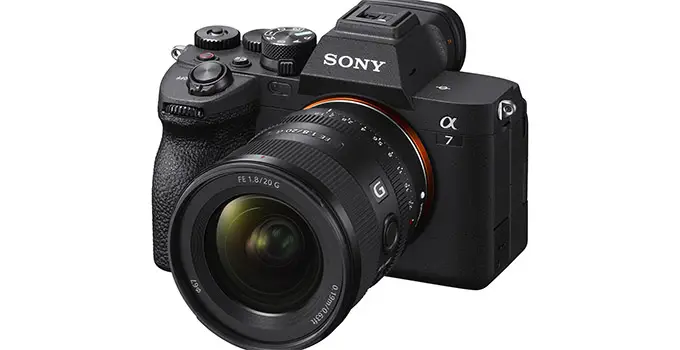
Image Credit: Sony
After that, you can download the actual firmware file for your camera. This will give you another piece of software to open and you likely will have to confirm you want to open it.
Head over to your camera now and in the Setup menu, you should go to USB options and find the USB Connection Mode. You’ll want it to be set to MassStorage (MSC).
Ideally, you should be using the USB cable that came with your camera, but I have had good luck using good USB cables from other brands, including Apple if that helps anyone. Plug your camera into your computer. It should now say “USB Mode Mass Storage” on the camera’s screen.
Heading to the computer where you opened the updater software you just hit next after it recognizes the camera. The computer will now run through the firmware update. At this point, you should not touch anything. Just let the camera and computer run the update.
It can take a while for some updates. It is painfully long, even up to 30 minutes in this test. At some point, it will end and the software application should say that is completed. Click Finish.
After this point, you should be good to go. Turn off your camera, unplug it from the computer, and turn it back on. Head back into the menu to double-check the version and you should be good to go.
It’s a pain to update Sony cameras but something worth doing.
[source: Henry Media Group]
Order Links:
Disclaimer: As an Amazon Associate partner and participant in B&H and Adorama Affiliate programmes, we earn a small comission from each purchase made through the affiliate links listed above at no additional cost to you.
Claim your copy of DAVINCI RESOLVE - SIMPLIFIED COURSE with 50% off! Get Instant Access!


