
Some of the most important and useful pieces of video equipment are usually the most underrated. Today, we are taking a look at some of the most boring ones – signal converters.
Blackmagic Design (among others) has a huge range of devices of varying capabilities and sizes that will help you take a signal from one device and get it just right to work with another.
With these mini and micro converters you will even find they can go beyond just being a basic adapter. If you happen to have a few already or are in the market for one you might be interested to see what you can actually do with these converters in this video from Doug Johnson Productions.
I think the biggest lesson to learn is that you should always read the manual. Most people are picking these tools up to solve some basic problems and the hardware controls are usually quite simple. Doug actually shows off how the switch options are even printed onto the units themselves. This does not tell you about the configuration tools you can access by using the software.
If you didn’t know you can head over to Blackmagic’s website and download the Blackmagic Converters tool. You should be able to plug in the converters to your computer using a USB cable (might be micro-USB or USB-C depending on the particular unit). When it is connected you should be able to see and select it within the app.
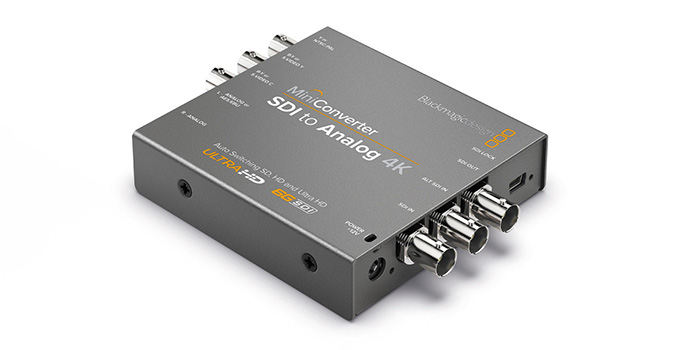
Image Credit: Blackmagic Design
Now you should be able to check out all the setup options. You can see in this example with the Mini Converter SDI to Analog 4K that there are plenty of output levels to adjust.
There are even downconversion options if you plan on taking that 4K signal and outputting it in SD. And, you can make sure to clip video output to legal levels. Audio also has some output levels options.
Another example he has is the Mini Converter SDI to HDMI 6G. Plugging that in you can see that there is the ability to load in a couple LUTs as well as adjust the audio output levels. The Mini Converter HDMI to SDI 6G doesn’t have as many configuration options.
You may need to update your converter and you can check the version and update using this software as well.

Image Credit: Blackmagic Design
The Micro Converters work in a similar way. Using the SDI to HDMI 12G you can see a ton of different options here. Since the Micro Converters don’t have the same physical switches for setup you have to do most of the configuration in the software.
One thing you might be curious about is working with bi-directional cables and devices that need to communicate back and forth. The Micro Converter BiDirectional SDI/HDMI 12G is an example and you will have to make sure you set the ATEM Camera ID to the input number of your ATEM device and camera. This should enable SDI camera control.
Always read the manual. Some of these options seem very useful, like the LUT upload. Could help solve one of those odd problems in your workflow.
[source: Doug Johnson Productions]
Order Links:
- Blackmagic Design Mini Converter SDI to Analog 4K (B&H, Amazon)
- Blackmagic Design Mini Converter SDI to HDMI 6G (B&H, Amazon)
- Blackmagic Design Micro Converter SDI to HDMI 12G (B&H, Amazon)
- Blackmagic Design Micro Converter BiDirectional SDI/HDMI 12G (B&H, Amazon)
Disclaimer: As an Amazon Associate partner and participant in B&H and Adorama Affiliate programmes, we earn a small comission from each purchase made through the affiliate links listed above at no additional cost to you.
Claim your copy of DAVINCI RESOLVE - SIMPLIFIED COURSE with 50% off! Get Instant Access!


