
Lots of buttons and customization is an amazing feature of a true cinema camera like the Sony FX6. It can also be overwhelming.
Add on optional or removable accessories and now you have a control scheme that might be a bit too much to fully understand or figure out how to set up without tons of time actually operating the camera.
An alternative is to take some suggestions from other pro shooters. Jay Anthony is one of those filmmakers lucky enough to have an FX6 as part of their kit and he has a lot of notes on how to best customize your controls and settings. It is a great place to get started.
Assuming you are using Cine EI mode you can dive right into these suggestions. Looking at the top handle you’ll have custom buttons 7 and 8 to work with.
For button 7 he recommends setting it to Base ISO/Sensitivity. This will give you a quick toggle between the low and high base ISO settings. No need for additional menu diving while you are shooting.
Button 8 is set to Focus Setting. He has been relying on zone focusing for the greatest reliability. Wide sometimes work but can sometimes have a mind of its own.
In the zone mode, you’ll need control over the focus area and by pressing the custom button you can activate the position setting. Then just use the joystick right below the button to get the zone into place.
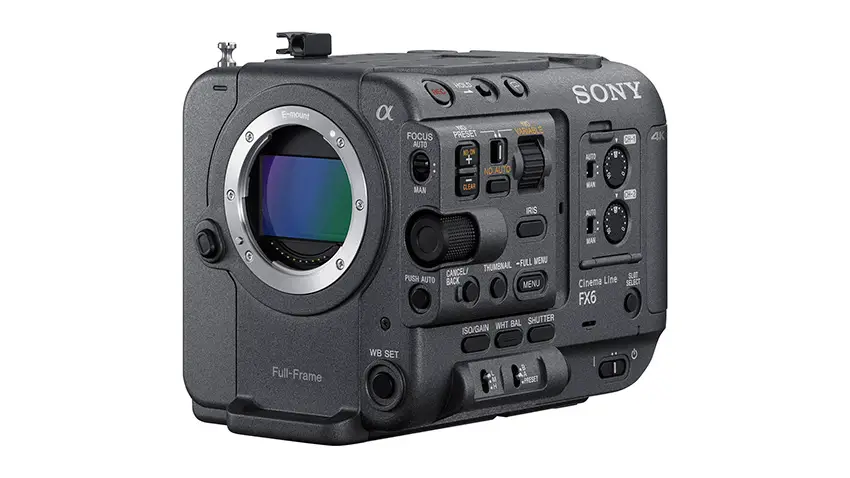
Image Credit: Sony
Not exactly a button but a setting you should definitely activate is Clear Image Zoom. This is buried in the zoom settings and what it does is allow you to do a high-quality digital punch in at up to 1.5x.
Can be very helpful. The zoom rocker will now do zoom using the Clear Image Zoom. Speaking of the rockers you can set two different speeds for better control.
Moving over to the side handle you’ll see button 5. This is set to Face/Eye Detection. When you press the button you can then cycle through the different features, such as focusing on just the face or eye.
This can help you fine tune your camera’s AF performance without having to head into the deep menus.
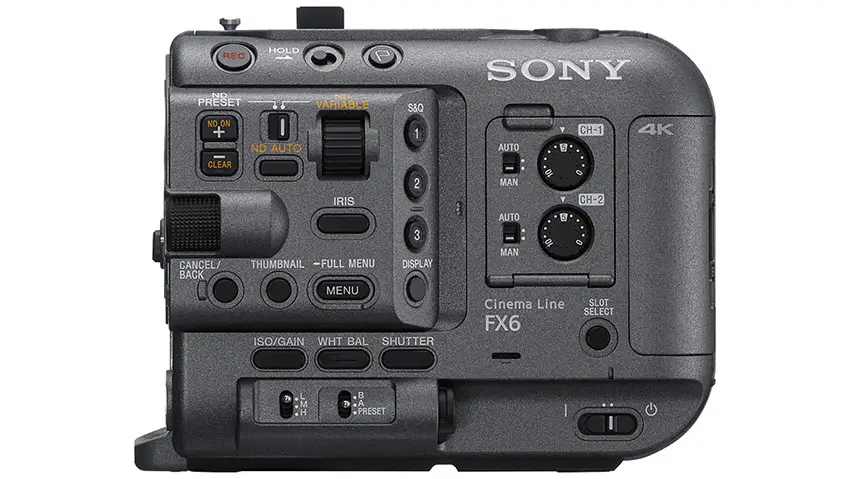
Image Credit: Sony
Button 4 gets to stay as is as the focus magnifier. An important option for checking your focus.
On the bottom of the side handle is button 6. This is set to touch sensitivity. Using the screen is very helpful for quickly setting focus as you work – unless you are holding the camera in a way where you might accidentally touch the screen.
Having the touch set to a custom button lets you quickly turn it off when you need to. Looking at the side of the camera you’ll find a good selection of buttons.
Some of these will stay the same. Button 1 stays as S&Q for slow and quick motion. Button 2 does get changed to AF speed and sensitivity and button 3 is the volume control for the headphones.
These are settings that are nice to have at the ready while you are working.
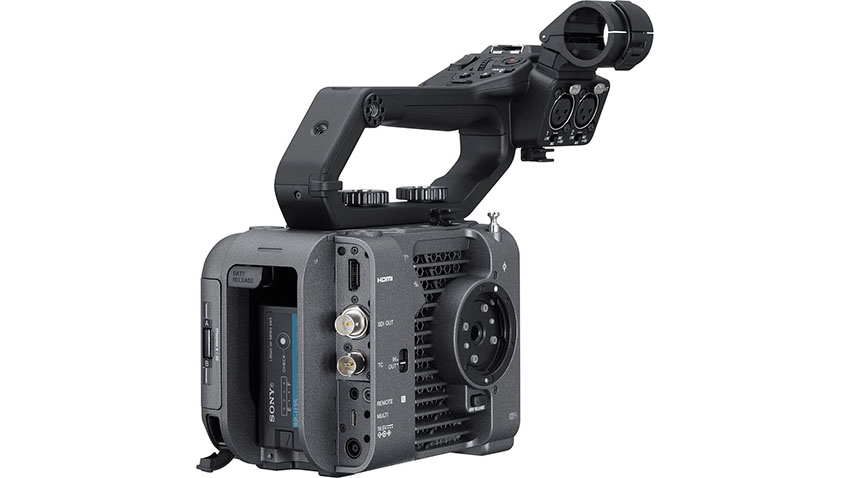
Image Credit: Sony
The rest of the buttons are set to specific features and aren’t that customizable. These will just be something you pick up over time.
Do you have any specific way you set up your FX6?
[source: Jay Anthony]
Order Links:
- Sony FX6 Cinema Line Camera (B&H)
Disclaimer: As an Amazon Associate partner and participant in B&H and Adorama Affiliate programmes, we earn a small comission from each purchase made through the affiliate links listed above at no additional cost to you.

