
You may remember the awesome and compact Scorpion Light we told you about a while back. Since then, the team at Blind Spot Gear have also launched their second product – the Tile Light, which has a more traditional on-camera look, but unlike other on-camera LED lights offers a solid design and high quality light output. As a working cameraman, Billy Campbell, Chief Explorer at Blind Spot Gear and creator of the Scorpion and Tile lights, thrives on sharing his knowledge of lighting with some very helpful lighting techniques such as using natural light to your advantage in documentary and interview situations as well as emulating the look of candlelight.
In his latest, tutorial Billy shares some more lighting tips and tricks in this 5 minute lighting tutorial. The craft of lighting is a life-long commitment, but for those starting out or wanting to brush up their lighting skills the tutorial includes, lighting definitions and examples, 3 point lighting, the inverse squared law explained, as well as useful tips and tricks that can be a lifesaver on set.
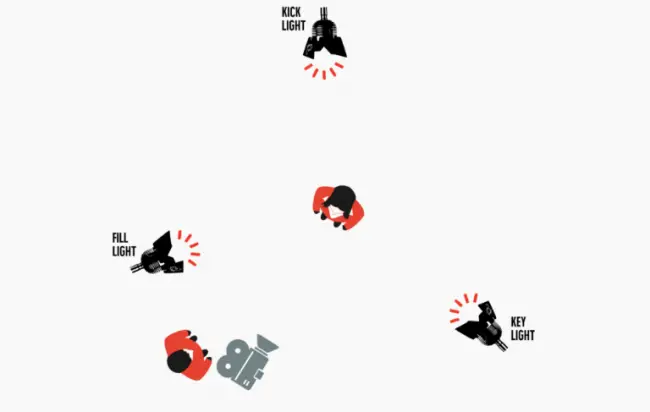
With 3 Point Lighting, you have primarily three light sources hence the name with the key light being the main source of illumination for a given character while at a certain place in the scene. There are no set rules on the placement of the key light, however 45 degrees from the camera and 45 degrees off the floor is generally the norm. If the scene requires you to go for some more moody lighting or the location of the scene predisposes for such, you as the cinematographer can opt to place it elsewhere depending on what you are going for.
The second source of light is your fill light, which is used to offset the shadows created by the key light. Generally, it should not create additional shadows and therefore usually comes from fairly near the camera, while the back light is designed to separate the actors from the background. The positioning of the back light is designed to add three-dimensionality to the scene, however it is not uncommon for cameramen who believe in realism and do no want an unmotivated source of light illuminating the picture to not use it.
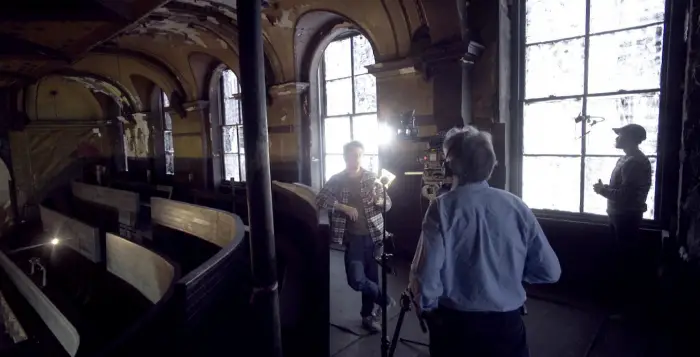
Using practical lights into your scene is often utilised to give your cinematography a bit more glossy look. Practical lights are traditionally defined as any light where the light source is in frame – desk and floor lamps, televisions, computers, and strings of Christmas lights.
In the example above, a Scorpion Light has been placed on the same axis as the practical light just out of frame. The barn doors have been adjusted to keep the illumination from the Scorpion off the practical light and the back wall.
For more tutorials and to learn more about the Scorpion Light and Tile Light head over to Blind Spot Gear and also check out their blog.
Disclaimer: As an Amazon Associate partner and participant in B&H and Adorama Affiliate programmes, we earn a small comission from each purchase made through the affiliate links listed above at no additional cost to you.
Claim your copy of DAVINCI RESOLVE - SIMPLIFIED COURSE with 50% off! Get Instant Access!


